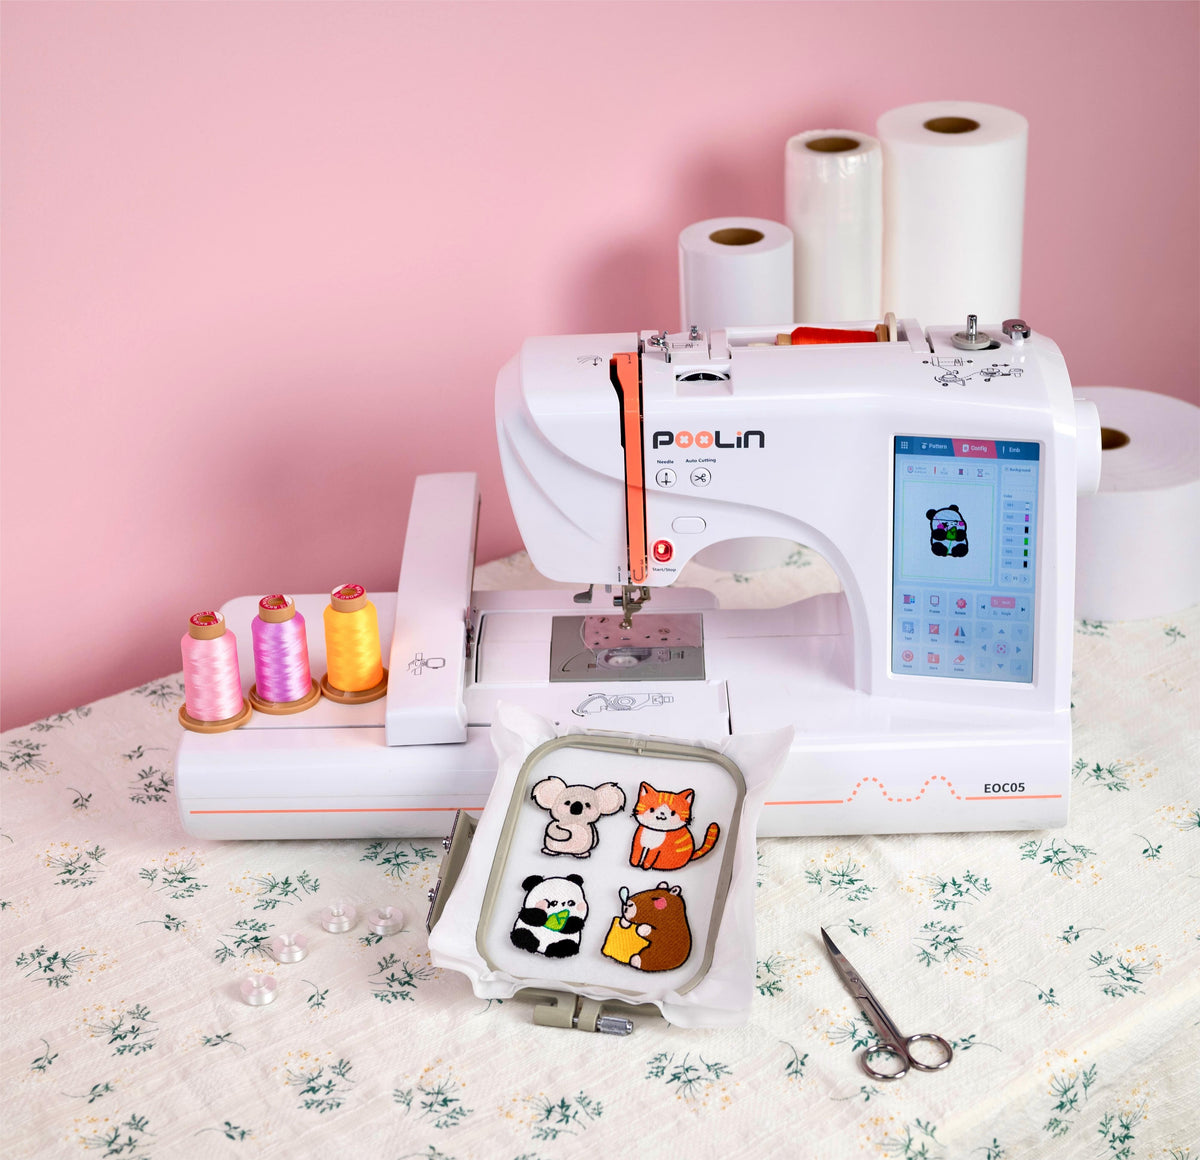
How to make patch with home embroidery machine?
|
|
Time to read 2 min
|
|
Time to read 2 min
As DIY culture becomes increasingly popular, more and more handicraft enthusiasts are trying to use home embroidery machines to make personalized badges. This is not only a pleasure, but also a unique way to realize the value of embroidery. Today, let's talk about how to use home embroidery machines to make unique patches, and how to cleverly combine the required tools to create your own projects.
💡 Did you know
Embroidered patches—an important identification tool for military and other uniformed personnel—trace their roots thousands of years ago to ancient cultures of the Mediterranean, Mideast, China, India and South America, where the art of decorating fabric with thread stitching originated.
😍 The household embroidery machines, embroidery threads, stabilizers, etc. required above are all in high-quality stock at Richword, including patterns and free downloadable resources.
Transfer the designed pattern to the embroidery machine via USB, prepare the fabric and stabilizing paper, and make sure the fabric is flat and wrinkle-free.
Tips: When choosing fabric, you also need to consider the purpose and design requirements of the final patch. For example, if your patch needs to be sewn on a specific type of clothing, you may need to choose fabric that matches the material of the clothing. In addition, the color and texture of the fabric will also affect the appearance and texture of the final patch.
Select the color you want for the embroidered patch, and set the tension and speed of the machine according to the thickness of the fabric. I choose the commonly used tension here: 4, and the speed is adjusted between 400-450.
Start the embroidery machine and observe the embroidery process carefully to ensure that the pattern is correct. When a color is used up, the embroidery thread needs to be changed in time.
After embroidery is completed, trim the excess fabric edges and finish the shape of the patch. If you are using tear away or wash away stabilizers, you can cut them according to their characteristics.
Finally, you have your own patch. You can sew or stick it on canvas bags or knitted hats, and it is a wonderful design.
The process of patch embroidery is full of fun and creativity, and the home embroidery machine is a powerful assistant to achieve this process. In order to make your embroidery experience more perfect, we recommend the following products. If you are interested, you can check the details page or send us a message.
Thank you for reading, if you have any questions in the field of embroidery or sewing, please leave a message or email us. Happy embroidery!
Your cart is currently empty.
Start Shopping